Air Layering Made Simple: Grow New Trees the Smart Way
- Shelby Pietersen

- Sep 19, 2023
- 3 min read
Updated: Sep 8, 2025
A Step-by-Step Guide for Green Thumbs

What is Air Layering?
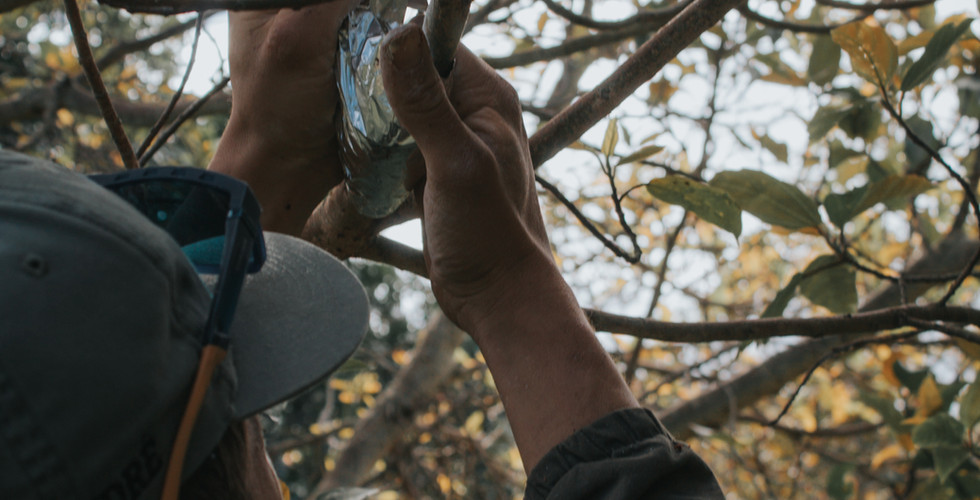
Air layering is a propagation method that allows you to create new plants from existing ones, particularly trees and woody shrubs.
Unlike traditional methods like seed propagation or cuttings, air layering doesn't involve separating the new plant from its parent until it has a well-established root system. This results in a higher success rate and faster growth.
Why Choose Air Layering?
Consistent Genetics:
When you air layer a plant, you essentially clone it. This means that the new plant will have the same characteristics as the parent, ensuring the traits you love are passed down.
Faster Maturity:
Air-layered plants often mature more quickly than those grown from seeds or cuttings because they start with a more extensive root system.
Versatility:
Air layering works for a wide range of woody plants, from fruit trees to ornamental shrubs. Whether you're aiming for fruit production or simply want to beautify your garden, air layering has you covered.
How to Air Layer: A Step-by-Step Guide
Materials You'll Need:
Sharp knife or pruning shears
A plastic or foil-wrapped pot or container
Rooting hormone (optional)
Sphagnum moss
Plastic wrap or a plastic bag
Twine or plant ties
A marker
Step 1: Select a Healthy Branch

Choose a healthy, mature branch from your plant of choice. It should be about the thickness of a pencil and free from disease or damage.
Step 2: Make an Incision
Make a shallow, 1-2 inch incision just below a leaf node (the spot where leaves emerge). You can use a sharp knife or pruning shears for this.
Step 3: Apply Rooting Hormone (Optional)
To improve your chances of success, you can apply rooting hormone to the incision.
This helps stimulate root growth.
However, it's not mandatory for air layering.
Step 4: Encase the Incision in Sphagnum Moss
Pack damp sphagnum moss around the incision site. Make sure to cover the entire cut and a bit of the surrounding branch. The moss will provide a humid environment that encourages root development.
Step 5: Wrap in Plastic
Wrap the moss-covered section with plastic wrap or place it in a plastic bag, securing it above and below the mossy area. This creates a sealed, humid chamber for your air layer.
Step 6: Secure the Ends
Tie or secure the plastic wrap or bag at both ends with twine or plant ties. This keeps the moss in place and prevents moisture loss.
Step 7: Monitor and Wait
Place the air layer in a shaded area and check it regularly for moisture levels. You may need to add water to keep the moss consistently damp. After several weeks to a few months, you should see roots forming inside the moss.
Step 8: Cut and Pot
Once your air layer has a healthy root system (usually when it's formed a ball of roots around the incision), carefully cut it from the parent plant just below the roots. Then, plant it in a suitable pot with well-draining soil.
Voilà! You've successfully air layered a plant, creating a new addition to your garden that's genetically identical to its parent.
Air layering is a fantastic method for avid gardeners and plant enthusiasts looking to expand their collections or replicate their favorite specimens. So, as you enjoy the blossoms and warmer weather of spring, consider trying your hand at this propagation technique.
With a bit of patience and care, you'll be well on your way to growing your very own garden of delights.
Happy gardening!
Ready to give your trees a new lease on life? Book a consultation with our arborists today and let’s get growing!


Comments